 Loading... Please wait...
- 8636920906
- Gift Certificates
- My Account
- Home
- Digital Basics
- Digital Basics IV Volume III
Categories
Digital Basics IV Volume III
Product Description
Digital Basics IV Video Series/Volume III
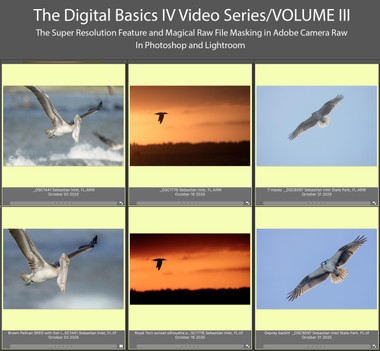
The two main thrusts of Volume III of the Digital Basics IV Video Series explains in detail how to handle when and how to use the new Super Resolution feature in Adobe Camera Raw to upsize your cropped .TIF files and how to use a variety of masks in ACR. Those include the automatic selections like Sky, Subject, and Background as well as Linear and Radial Gradients and how to create your own masked area using the Brush Tool. This feature has transformed my workflow and I am now routinely using as many as six or seven masks on a single raw file. I am even using painted masks to effectively do my Eye Doctor work.
Each of the six image optimizations takes you through my complete basic workflow that remains much the same as is detailed in both DB II and in the DB III Video Series. The steps include:
1- Setting the Color Temperature (when and if needed).
2- Setting the White and Black Points and adjusting the Highlights and Shadows sliders.
3- Setting the Clarity and Dehaze sliders.
4- Fine-tuning color using the Hue/Saturation/Luminance Targeted Adjustment Tool, a huge step up from the Color Mixer Tool.
5- My 2-step noise reduction technique (now only with higher ISO images).
Once I have the .TIF file in Photoshop, I still use my usual cadre of clean-up tools and techniques including the Remove Tool, the Clone Stamp (only rarely), Divide and Conquer, Quick Masking, Layer Masking, Gaussian Blurs, an expanded array of personalized keyboard shortcuts, and tons of other image optimization strategies and methods adapted from previous versions of Digital Basics. I also demonstrate the selective use of Topaz Sharpen AI utilizing the masking feature. And last but not least, I share my JPEG creation methodology.


