 Loading... Please wait...
- 8636920906
- Gift Certificates
- My Account
- Home
- Digital Basics
- Digital Basics IV Volume IV
Categories
Digital Basics IV Volume IV
Product Description
Digital Basics IV Video Series/Volume IV
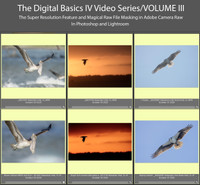
My current workflow includes the use of the masking feature in Adobe Camera Raw (thanks to Anita North), the use of the Point Color eye dropper to tame super-saturated colors during raw conversions (discovered in tandem with Anita), a fabulous new Remove Tool trick that makes my favorite Photoshop Tool even more powerful than before -— that one discovered by me. In addition, I have recently begun doing some Curves work during my ACR raw conversions.
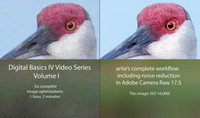
My basic workflow remains much the same as is detailed in both DB II and in the DB III Video Series:
1- Setting the Color Temperature (when and if needed).
2- Setting the White and Black Points and adjusting the Highlights and Shadows sliders.
3- Setting the Clarity and Dehaze sliders.
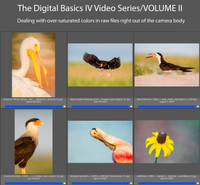
4- Fine-tuning color using the Hue/Saturation/Luminance Targeted Adjustment Tool, a huge step up from the Color Mixer Tool.
5- My 2-step noise reduction technique (with most images).
Volume IV details the use the ACR Masking feature to selectively lighten the shaded side of backlit subjects, remove color casts, and juice up color (and contrast). In addition we cover and review the processing of foggy photos, the use of Quick Masks to flop and re-position a flying subject, the use of the Remove Tool, and a variety of repair and clean-up techniques.


