 Loading... Please wait...
- 8636920906
- Gift Certificates
- My Account
- Home
- Digital Basics
- Digital Basics IV Volume II
Categories
Digital Basics IV Volume II
Product Description
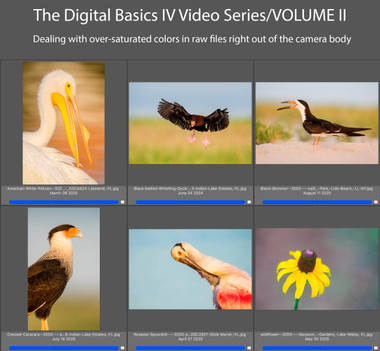
Digital Basics IV Video Series/Volume II: $49.00
The main thrust of Volume II of the Digital Basics IV Video Series explains in detail how to handle images where some bright colors like reds, oranges, and yellows, show as over-exposed as soon as you hold down the Alt or Option key and move the Whites slider to the right in Adobe Camera Raw. This is a commonly encountered problem for folks using Adobe Camera Raw either in Photoshop or Lightroom. The simple solution is to use the Point Color eyedropper the moment you encounter super-saturated colors in images right out of the camera. Raw files from all of the major dSLR and Mirrorless camera manufacturers will exhibit this problem. Depending on the system that you use, you may find that the certain colors are more problematic in one system than in another. Huge thanks to Anita North; working together, we came up with the Point Color Supersaturated Colors Fix.
Each of the six image optimizations takes you through my complete basic workflow that remains much the same as is detailed in both DB II and in the DB III Video Series. The steps include:
1- Setting the Color Temperature (when and if needed).
2- Setting the White and Black Points and adjusting the Highlights and Shadows sliders.
3- Setting the Clarity and Dehaze sliders.
4- Fine-tuning color using the Hue/Saturation/Luminance Targeted Adjustment Tool, a huge step up from the Color Mixer Tool.
5- My 2-step noise reduction technique (now only with higher ISO images).
Once I have the .TIF file in Photoshop, I still use my usual cadre of clean-up tools and techniques including the Remove Tool, the Clone Stamp (only rarely), Divide and Conquer, Quick Masking, Layer Masking, Gaussian Blurs, an expanded array of personalized keyboard shortcuts, and tons of other image optimization strategies and methods adapted from previous versions of Digital Basics. I also demonstrate the selective use of Topaz Sharpen AI utilizing the masking feature. And last but not least, I share my JPEG creation methodology.


